

My friend Michelle at The One With The Cupcakes, bought the Bakerella book and made a few batches before I made it to her house to try one. My first one! It. was. so. good. Before I got started making my own, I read her post with a handful of tips from her experience cake pop making.
One reason why I never dove right into trying to make cake pops would be because I never tend to have much luck dipping things. Consistency issues, lumps, horrible looking final products, you name it, it happens to me every time I try to dip something - except a tortilla chip of course. Somehow, I thought up this idea to try to make watermelon cake pops which would eliminate the entire cake pop needing to be dipped at once. Half and half seemed easy enough. If you don't need any heads up on how to make cake pops, scroll down to number 7 where the watermelon cake pop goodness begins.
You will need:
- 9x13 inch cake
- 2/3 tub of frosting
- red or pink Wilton Candy Melts
- green Wilton Candy Melts
- mini chocoalte chips
- lollipop sticks
- styrofoam (to allow the pops to solidify upright)
1. Bake your cake. Michelle said her favorite is chocolate cake (surprise, surprise) and Betty Crocker's Rainbow Chip frosting (no objections here). Then break it up out of the pan and into a bowl.

2. Crumble your cake. By FAR my favorite part. Why do I like destroying the cake? I don't know, but it is fun. Maybe because, until cake pops, you never crumbled a cake to pieces on purpose. Make sure your crumbs are nice and fine. The top/edges of my cake had that slight moist crust to them and tended to make chunks that I pulled out.

3. Add your frosting. You do not need a whole tub (16oz) of it! Make sure it is room temperature. Anything colder will be miserable to mix. I've never read Bakerella's book or instructions, but from Michelle's experience, 1/2 to 2/3 of the tub is just marvelous. Any more and your cake pops will be far too moist.

4. Mix all the crumbs into the frosting. Your final product will be a giant cakefrosting ball of "dough."

5. Place the dough ball in the refrigerator for at least 30 minutes.
6. Roll into balls of desired size. The bigger they are the fewer you get, but the harder they are to dip. I'd shoot for smaller than a golf ball.
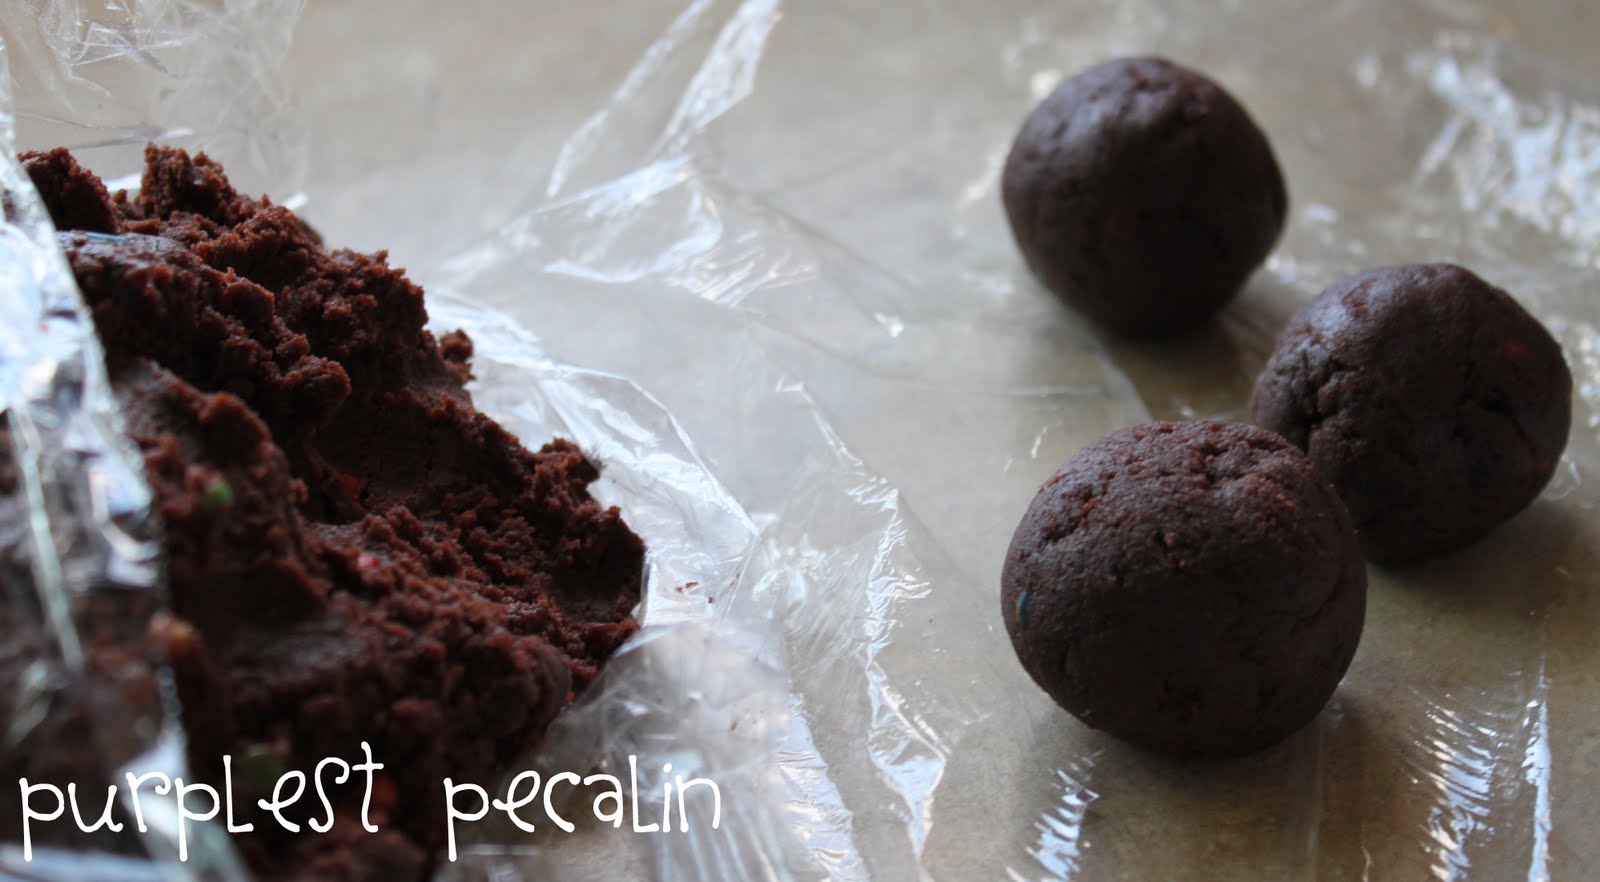
7. First melt your Green Wilton Candy Melts. I used just less than half a bag. Then, dip your cake balls by hand halfway into the candy melts. Secure a lollipop stick into the end you just dipped, right about where the swirl from pulling it out is, to sort of cover it up.

8. Place in the refrigerator for a few minutes, then melt your Red or Pink Wilton Candy Melts. (I used red.) And hold the stick to dip the other half of the cake pop in the candy melts. You want to submerge it enough to just meet the green.

9. Finally, add mini chocolate chips to the top of your pop for seeds. I would do this as you dip each red one because the first red one you dip will be too hard to add the chocolate chips to by the time you dip your final one. Finally, cool your watermelon patch of pops in the refrigerator!

Tips:
Just as you used the lollipop stick to cover up the swirly gig on the green side when pulling it out of the candy melts, you can use a mini chocolate chip to cover it on the red side.


And of course, as with all my projects, here is my "next time I will"...use a white cake mix/frosting combo because then, you could not make the candy melts meet when dipping, on purpose instead of accidentally, to create a white bit of rind.

Also, the rounder your cake balls are, the less lumpy your watermelon pops will look. And of course, don't expect perfection. Have fun! As with most things, even if they aren't the prettiest, they still taste good! Take a look at a different method of creating watermelon cake pops made by Natalie at Natalie's Cake Pops. Very cute!
Well, there ya have it. Easy cake pops for a newbie so you don't have to worry about dipping the whole ball or perfecting your pull out point. They're not perfect watermelons and could be made into lady bugs (all red obviously, black line down the middle) or something with spikes, as that's what the seeds look like to me.
These look so yummy, I love watermelon! Found you at Tatertots and Jello, thanks for sharing!
ReplyDeleteThis is adorable! great job!!
ReplyDeletethose look sooo yummy! i've seen them but never a tutorial for them. so thanks so much! thanks for linking this up to my tip-toe thru tuesday party! hope to see you again this week!
ReplyDeleteThese are absolutely darling! perfect for summer!
ReplyDeleteHow cute! Love this idea!
ReplyDeleteI love how easy these are...and how adorable!
ReplyDeleteThese are so cute and I'll bet so yummy!
ReplyDeleteStacey of Embracing Change
They do look great. I pinned them to my Food to Die For board on Pinterest so I can come back to this tutorial later.
ReplyDeleteThanks and happy weekend!
LaVonne @ Long Wait For Isabella
These turned out so cute and I bet they tasted even better. I have been dying to make cake pops...Thanks for sharing. I am a new follower. I would appreciate it if you followed me back at http://milliemorganmedia.blogspot.com!
ReplyDeleteyou're meant to use vanilla cake not brown. this makes it able to put red food dye and watermelon flavouring in it and making the white turn red,making it look and taste better
ReplyDelete